Since I'm on a vintage halloween kick, I decided to make some halloween decor! I wanted to make a banner that was more browns and softer looking.
So below I have a step by step tutorial on what I did. I wanted to make a video on it but I couldn't get my camera set up right. So I hope this helps for now!
I measure out a template I found online.
I made my first mark at 2 3/4", then 5 1/2" in between and another mark with 2 3/4" from the right side in.
Connect the dots!
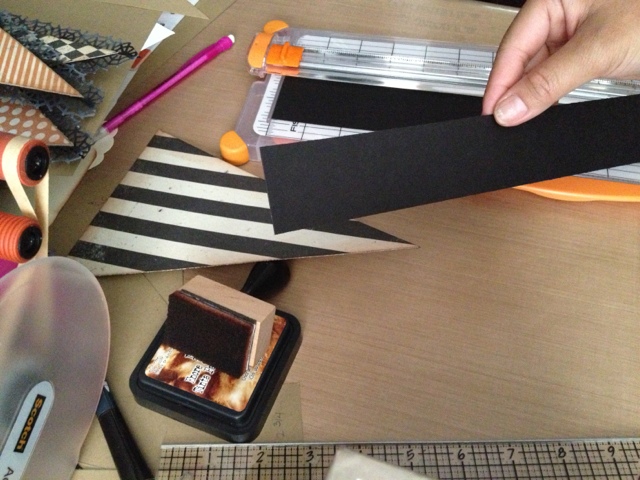
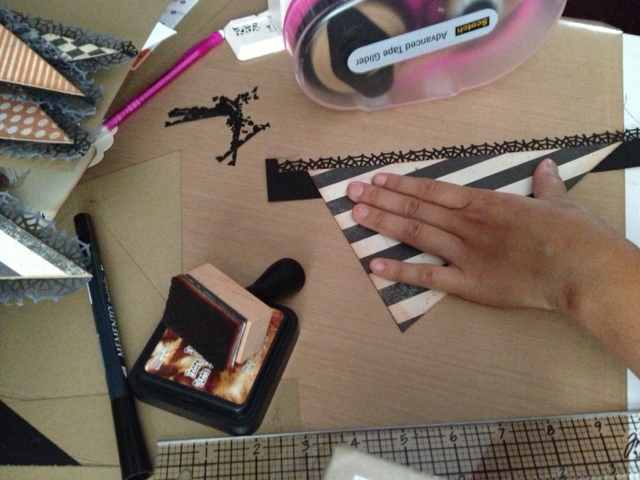
I used my paper trimmer to cut perfect lines for the flags. I just cut them at an angle.
Then I placed my flag over patterned paper and traced it.
I wanted to use base card stock paper underneath the pattern paper to make it thicker.
So now glue them on top of each other.
I love using distress inks and my favorite color has to be vintage photo! I distressed the edges of each flag.
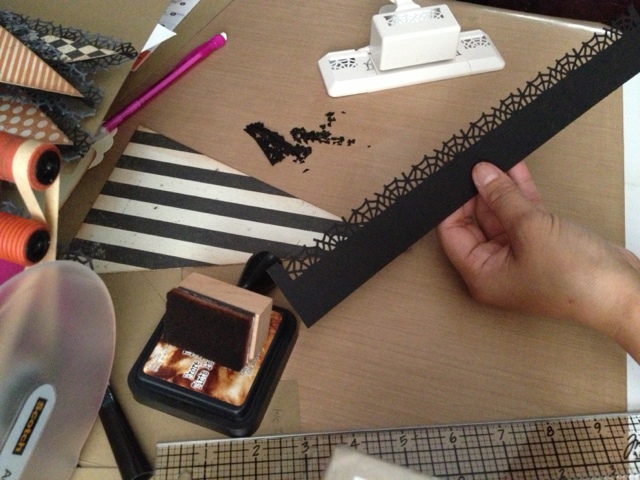
Next I cut out 1.5" strips of black card stock for my spider web edging.
They could be a bit slimmer but I like them wider so I can handle them easier in my punch.
I used my Martha Stewart spider web edge punch and punched my life away!
I made 3 strips per flag.
Then I used my color box pigment ink pad and rubbed it on the edges of my web strips.
I let the strips dry before I add vintage photo to the edges. This part gives my web edges a softer powder look. I didn't want to leave it stark white since the paper I used is off white. The vintage photo adds a touch of brown to them, I love it! Then I used my atg to adhere it to the edges.
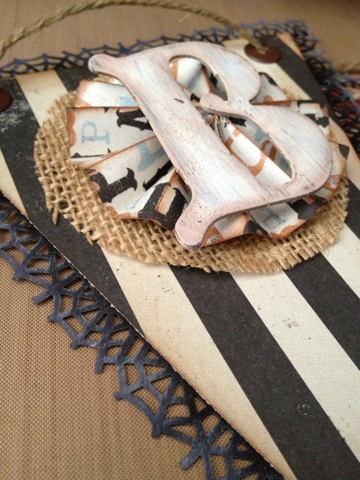
Last part, I cut burlap circles out and then cut strips 1.5"x12 for my rosettes. I used my hot glue gun to make sure everything sticks!
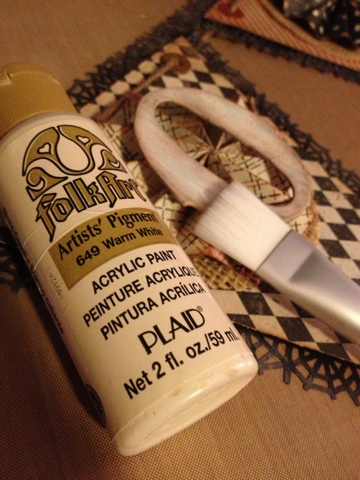
I had black chipboard letters in my stash and so I painted them an off white. I used vintage photo on the edges as well and glued them on top of the rosettes.
I added extra wide grommets and strung through some twine. Voila! Quick and easy, super fun for Halloween!